“Why does my contour look muddy instead of chiseled?” If this question haunts you every time you pick up a makeup brush, trust me—you’re not alone.
Welcome to the world of editorial makeup where precision meets creativity. In this guide, we’ll demystify the art of elegant contouring, breaking it down step-by-step so you can transform your techniques from amateurish smudges to runway-ready perfection. You’ll learn how to elevate your makeup game, avoid common pitfalls, and embrace tools that make life easier (coffee breaks included). Let’s go!
Table of Contents
- What is Elegant Contouring?
- The Problem with Ordinary Contouring
- How to Achieve Flawless Contouring in 5 Steps
- Pro Tips for Elegant Contouring
- Real-Life Examples That Inspire
- FAQs about Elegant Contouring
Key Takeaways
- Elegant contouring emphasizes subtle enhancements rather than harsh lines.
- Selecting the right products and brushes is crucial for achieving an editorial finish.
- Blending is non-negotiable; bad blending = no elegance.
- Achieving editorial-level results requires practice—but don’t overdo it!
What is Elegant Contouring?
Contouring isn’t just about defining cheekbones—it’s about crafting dimensionality. Think of elegant contouring as the difference between shouting “Look at me!” and whispering, “Here I am.” When done correctly, it enhances natural features without overwhelming them. For those diving into editorial makeup, mastering this technique is non-negotiable.
The Problem with Ordinary Contouring
I once tried recreating Kim Kardashian’s iconic contour on myself during my early makeup days. Big mistake. Instead of sculpted goddess vibes, I ended up looking like a muddy mess with misplaced shadows—not cute. Why? Because traditional contour tutorials often encourage heavy-handedness, which doesn’t translate well for editorial looks.
In editorial makeup, subtlety reigns supreme. Heavy layers scream “I tried too hard,” while soft transitions whisper, “I woke up like this (but better).”
Grumpy Me: “Ugh, why do people buy bronzers darker than their actual skin tone? It makes zero sense.”
Optimist Me: “But hey, using shades slightly deeper creates a flawless gradient effect!”
How to Achieve Flawless Contouring in 5 Steps
Step 1: Prep Your Canvas
Your skin needs to be hydrated and primed before applying any product. Skipping primer is basically inviting streaks to crash your party. Trust me—your pores are tiny gateways screaming for hydration.
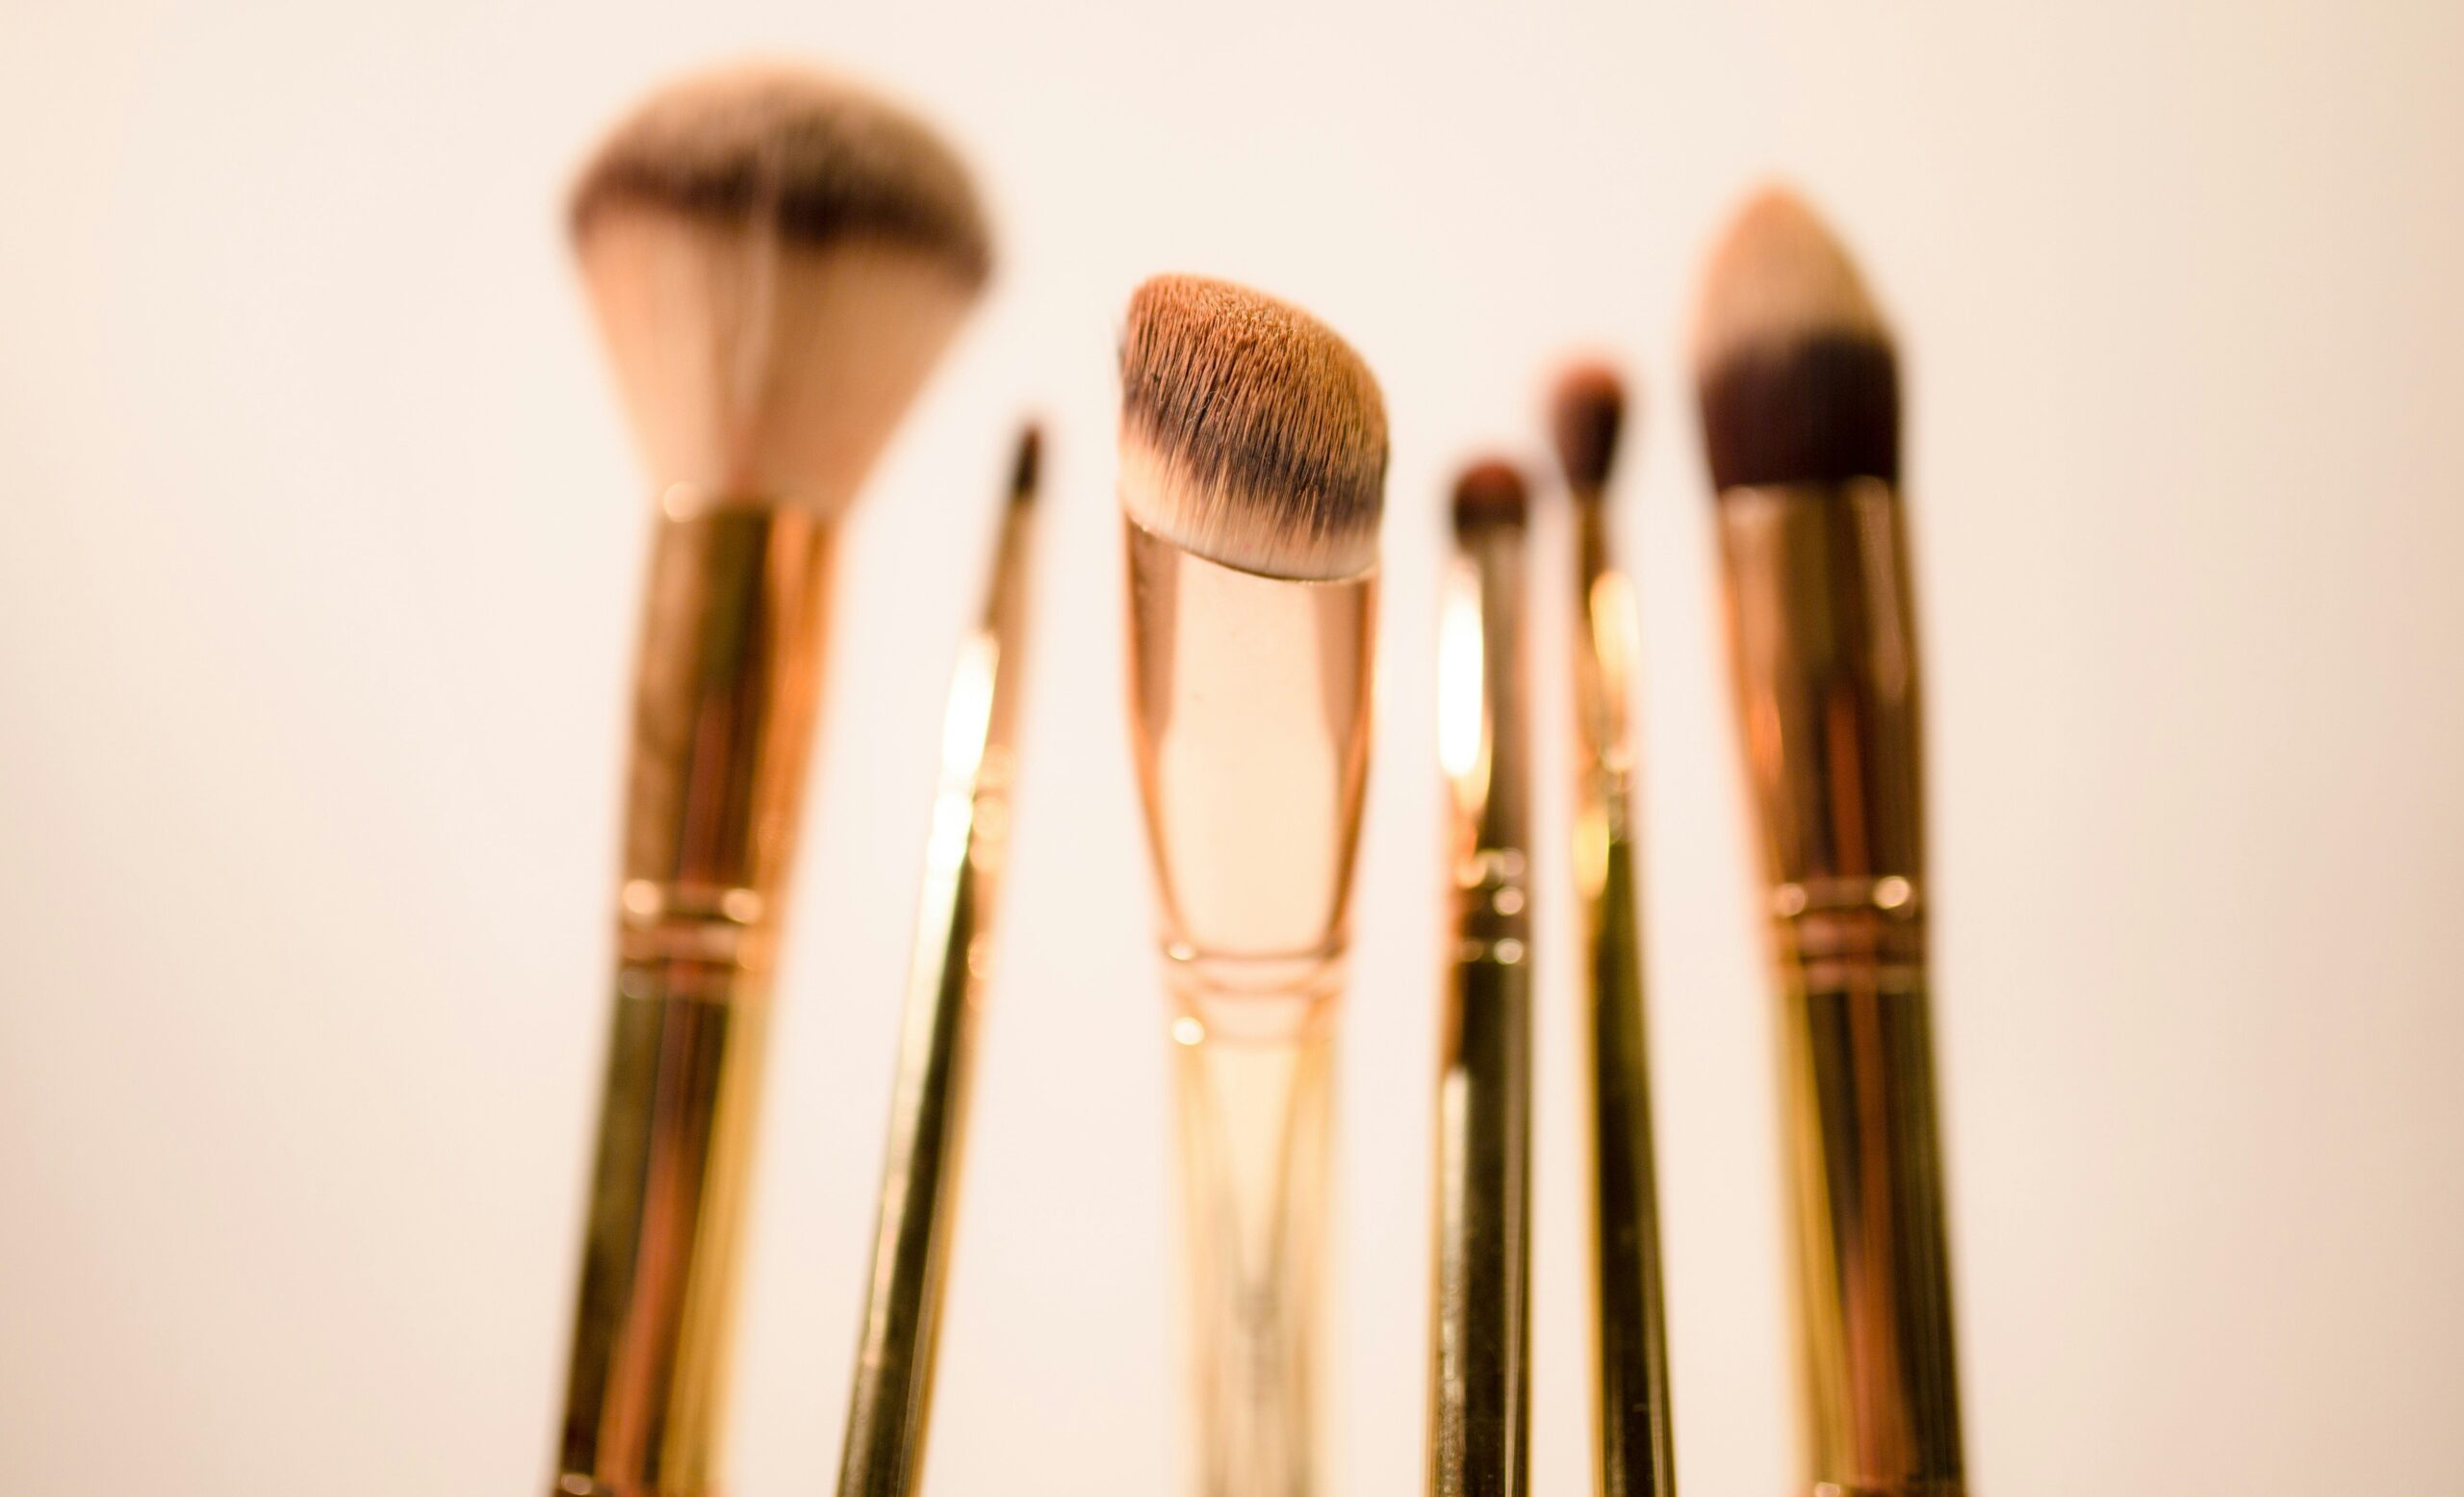
Step 2: Choose the Right Products
Ditch powders if your skin runs dry—opt for creamy formulas instead. My holy grail? A matte cream bronzer two shades deeper than my foundation. Pro tip: Creams blend seamlessly into the skin, giving off that “lit-from-within” glow editors crave.
Step 3: Map Out Zones
Imagine your face divided into sections: hollows of cheeks, jawline, temples, nose bridge. Apply product lightly along these areas. Avoid dragging or pressing too hard—blendability starts here.
Step 4: Blend Like Your Life Depends On It
Seriously, invest in a good blender sponge. Blurring edges ensures zero harsh lines. This step separates pros from amateurs faster than a highlight reel.
Step 5: Set Strategically
Lightly dust translucent powder only where necessary. Too much setting powder flattens all that beautiful dimension you worked so hard to create.

Pro Tips for Elegant Contouring
- Always match undertones when selecting bronzers—warm tones complement warm complexions; cool tones love cool complexions.
- Use minimal pressure when stippling products onto skin. Less is more.
- Don’t forget your neck and ears—they need blending too unless you want floating heads à la low-budget animations.
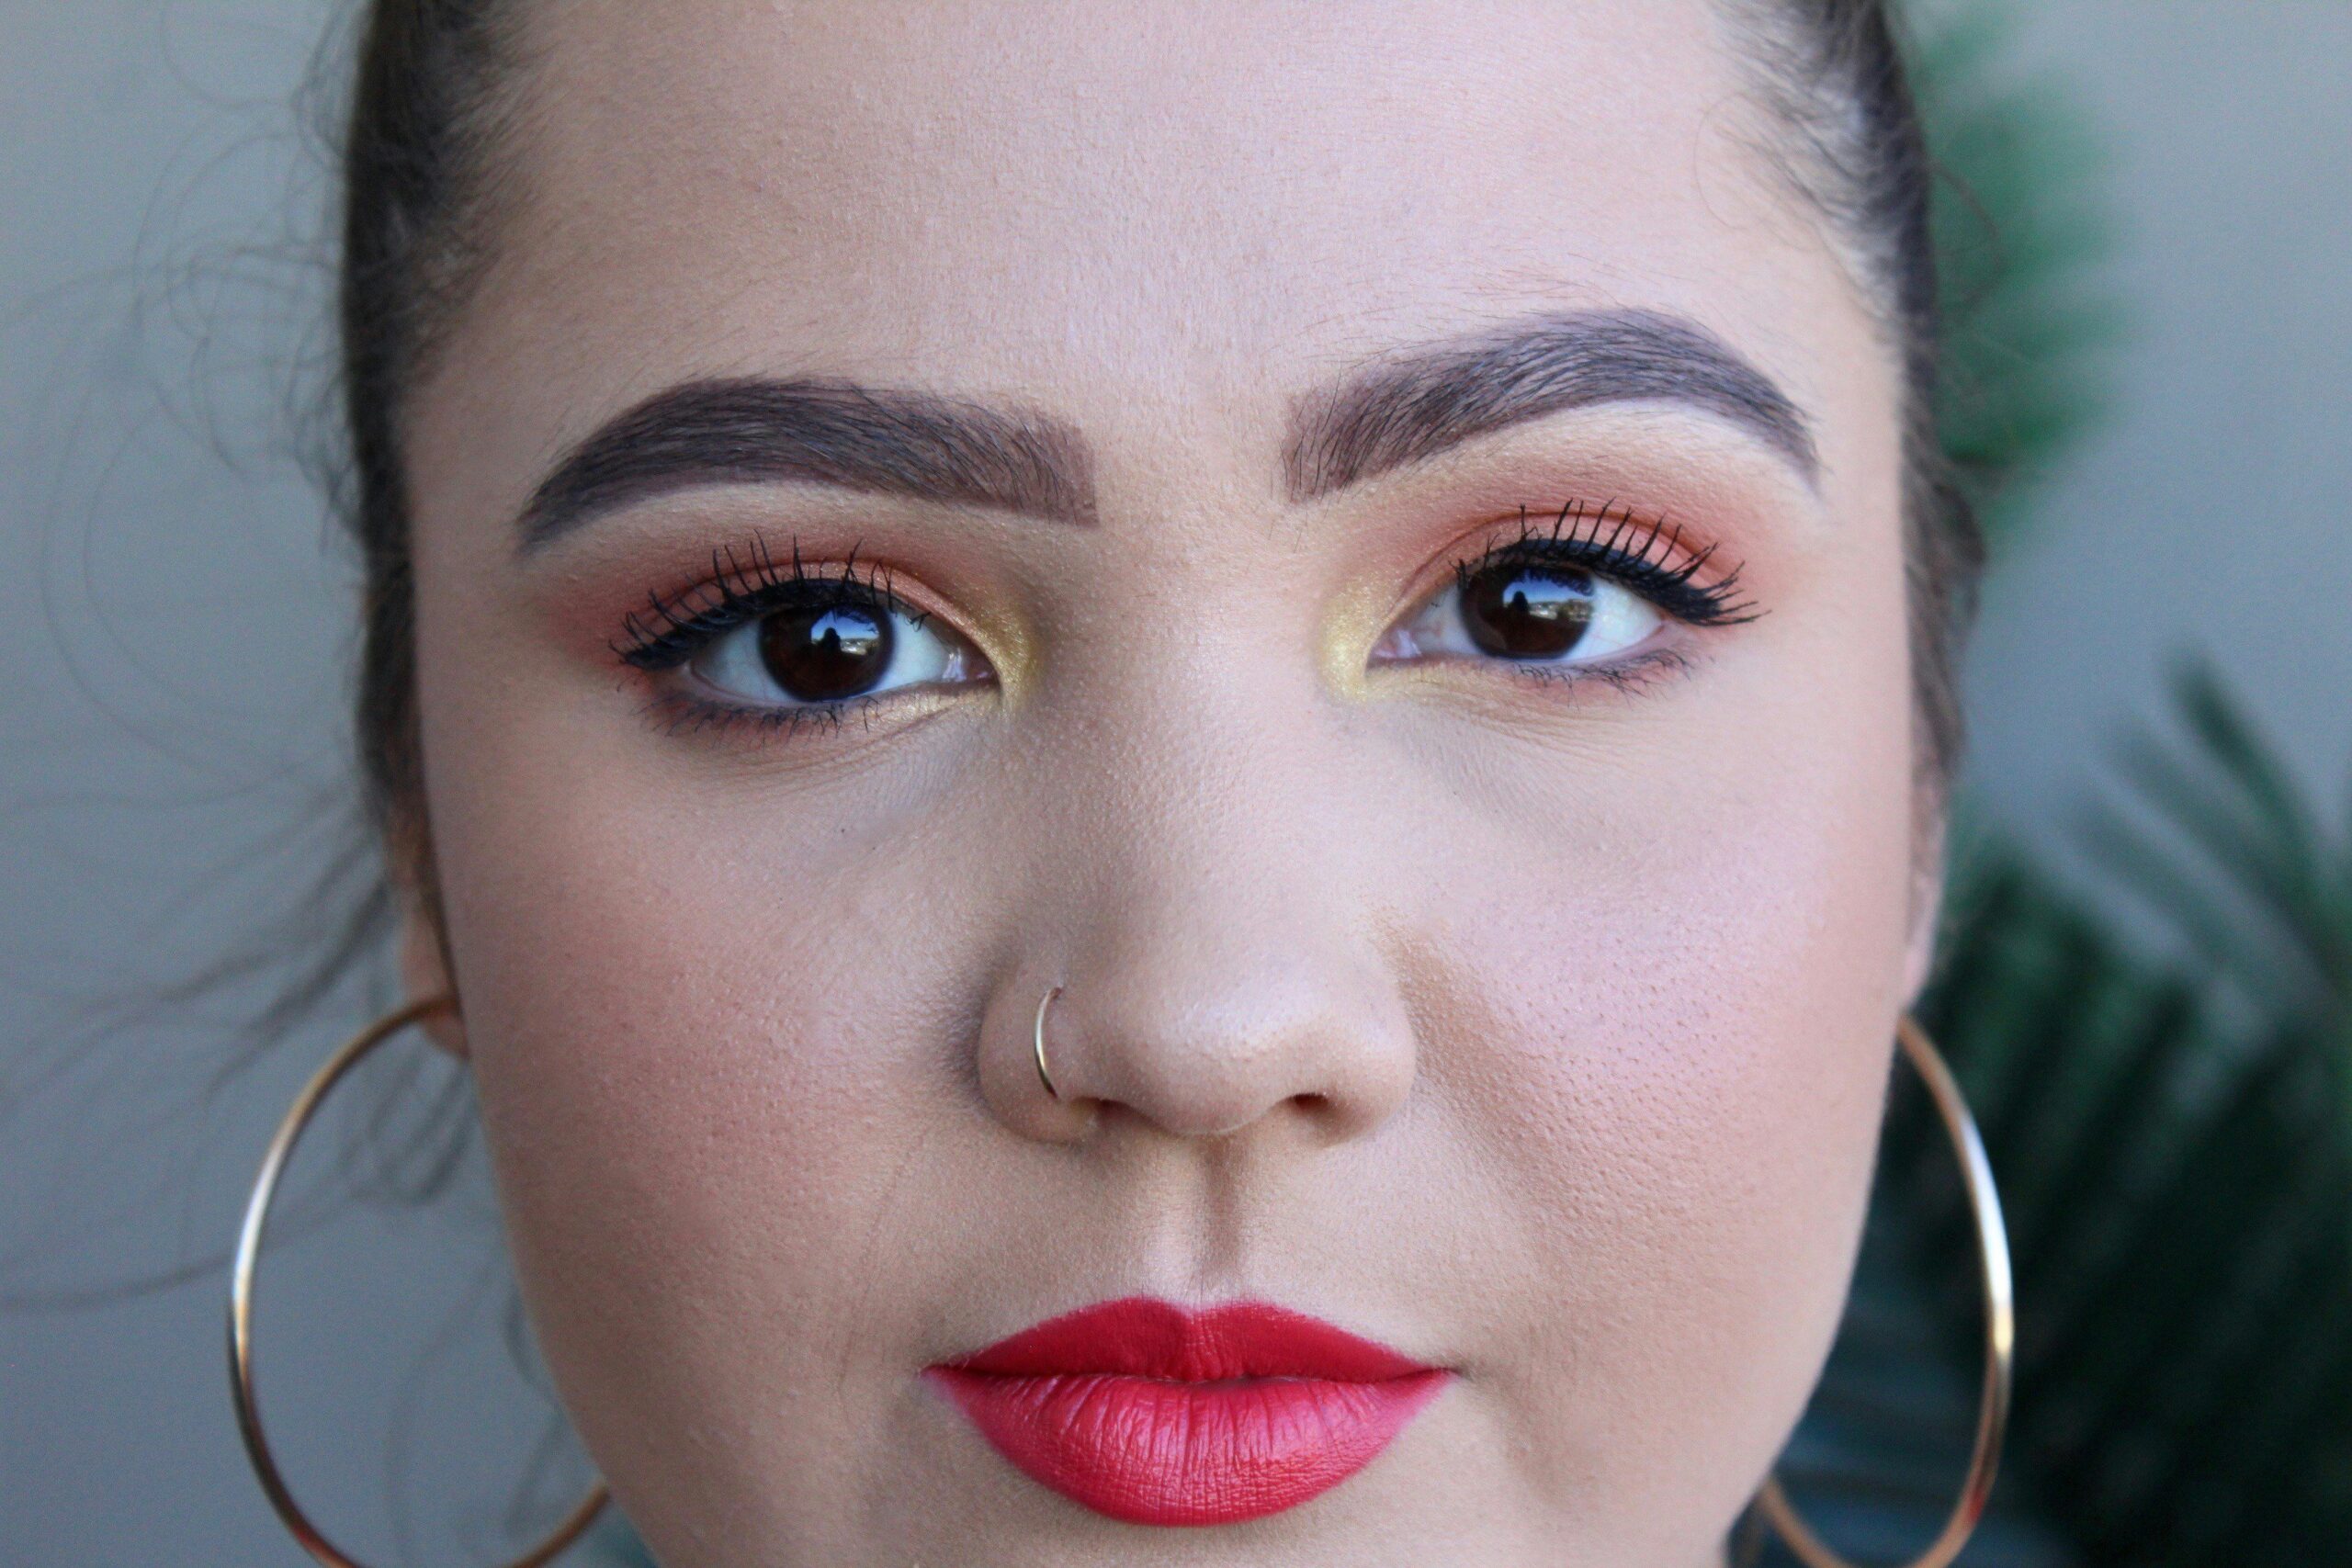
Real-Life Examples That Inspire
Take Rihanna’s Fenty Beauty campaigns, for example. Every model showcases elegance through expert contouring. Shadows are carefully placed yet undetectable—cheekbones pop naturally. Even Vogue covers rely heavily on this technique to enhance editorial shots’ overall impact.
FAQs about Elegant Contouring
Q1: Can beginners achieve elegant contouring?
Absolutely! Start with small amounts of product and focus on blending. Practice makes permanent.
Q2: What’s the biggest mistake most people make?
Overdoing it. Editorial makeup aims for believable enhancement, not drag queen levels of drama.
Q3: Is expensive equipment worth it?
Nope. A $5 Wet N Wild blush works wonders if applied correctly. Tools matter, but skill surpasses cost.
Conclusion
Congratulations! You now hold the secrets to elegant contouring, ready to conquer editorial makeup challenges confidently. Remember, mastering artistry takes time, patience, and maybe some coffee-fueled nights. Keep practicing, stay inspired, and never lose sight of what drew you to beauty in the first place.
P.S. Here’s a haiku for you: Soft contours whisper / Dimension dances light / Skin glows artistically.