Ever stared in the mirror for an hour trying to perfect that flawless lipstick line, only to end up with something closer to a toddler’s finger painting? You’re not alone. The art of creative lip art has taken the beauty world by storm—but it’s not just about slapping on red lipstick anymore. From intricate designs to bold geometric patterns, this editorial makeup trend lets your lips be the canvas for self-expression.
In this post, we’ll break down everything you need to know about creative lip art, including step-by-step techniques, tools of the trade, tips for beginners, stunning examples, and some brutally honest truths (spoiler alert: there’s a 5-minute hack everyone swears by but rarely works). Ready to level up your makeup game?
Table of Contents
- Why Creative Lip Art Is So Hot Right Now
- Step-by-Step Guide to Mastering Creative Lip Art
- Tips and Tricks for Flawless Execution
- Jaw-Dropping Examples of Creative Lip Art
- Frequently Asked Questions About Creative Lip Art
Key Takeaways
- Creative lip art combines precision, creativity, and bold colors for editorial-worthy makeup looks.
- Start with quality products like long-lasting lip liners and pigmented liquid lipsticks.
- Practice basic shapes before tackling complex designs.
- Proper prep (yes, even SPF!) makes all the difference.
- Use stencils or tape for beginner-friendly results.
Why Creative Lip Art Is So Hot Right Now
Remember when nude lips dominated every Instagram feed? Those days are officially over. Search queries for “creative lip art” have surged 70% in the past year alone. Why? Because people aren’t just looking for makeup—they’re craving expression. Whether it’s abstract swirls, floral prints, or holographic effects, creative lip art allows artists to tell stories through their makeup.
But here’s the kicker—this isn’t as easy as slapping on some gloss and hoping for magic. I once attempted to create a cheetah print lip look without sealing my base first. The result? A chaotic mess resembling more Picasso than Pat McGrath Labs. Trust me; prep matters.
Sensory Oversharing Moment:
Imagine the satisfying snap of a freshly sharpened lip liner meeting paper—the sound of endless potential waiting to bloom across your pout.
Step-by-Step Guide to Mastering Creative Lip Art
Step 1: Prep Like a Pro
Begin with exfoliating your lips using a gentle scrub. Follow up with a hydrating balm—and wait 5 minutes so excess moisture doesn’t ruin your masterpiece later.
Optimist You: “Exfoliation ensures smooth lines.”
Grumpy You: “Ugh, fine—but at least pop on Netflix while soaking in the process.”
Step 2: Create Your Base Color
Select a matte lipstick or primer as your foundation. This anchors any additional layers and gives longevity to your look.
Step 3: Add Shapes and Patterns
Use lip liners to map out your desired design. For beginners, try simple hearts, stripes, or polka dots. If feeling adventurous, experiment with animal prints, mandalas, or graffiti-inspired strokes.
Step 4: Seal It Up
A setting spray ensures durability, especially if you plan to strut confidently down the street—or sit front row at Fashion Week.
Tips and Tricks for Flawless Execution
- Invest in Pigmented Products: High-quality lip liners and liquid lipsticks make precision much easier.
- Work Slowly: Precision beats speed every time. Don’t rush yourself.
- Use Tools: Stencils, toothpicks, or small brushes can elevate your handiwork.
- Keep It Balanced: Avoid overwhelming your face; pair detailed lip art with neutral eye makeup.
- Terrific Tip Disclaimer: While many swear by applying multiple thin layers rather than one thick coat, doing this haphazardly can lead to cracking—not cool.
Rant Alert:
Let’s talk about those influencers who claim their “flawless” lip art requires no prep work. Yeah, right. That look took them hours, five lighting adjustments, and likely Photoshop to achieve. Don’t fall for it! Preparation is king—or queen—in this realm.
Jaw-Dropping Examples of Creative Lip Art
The world of editorial makeup brims with inspiration. Check out how these pros nailed their creative lip art:
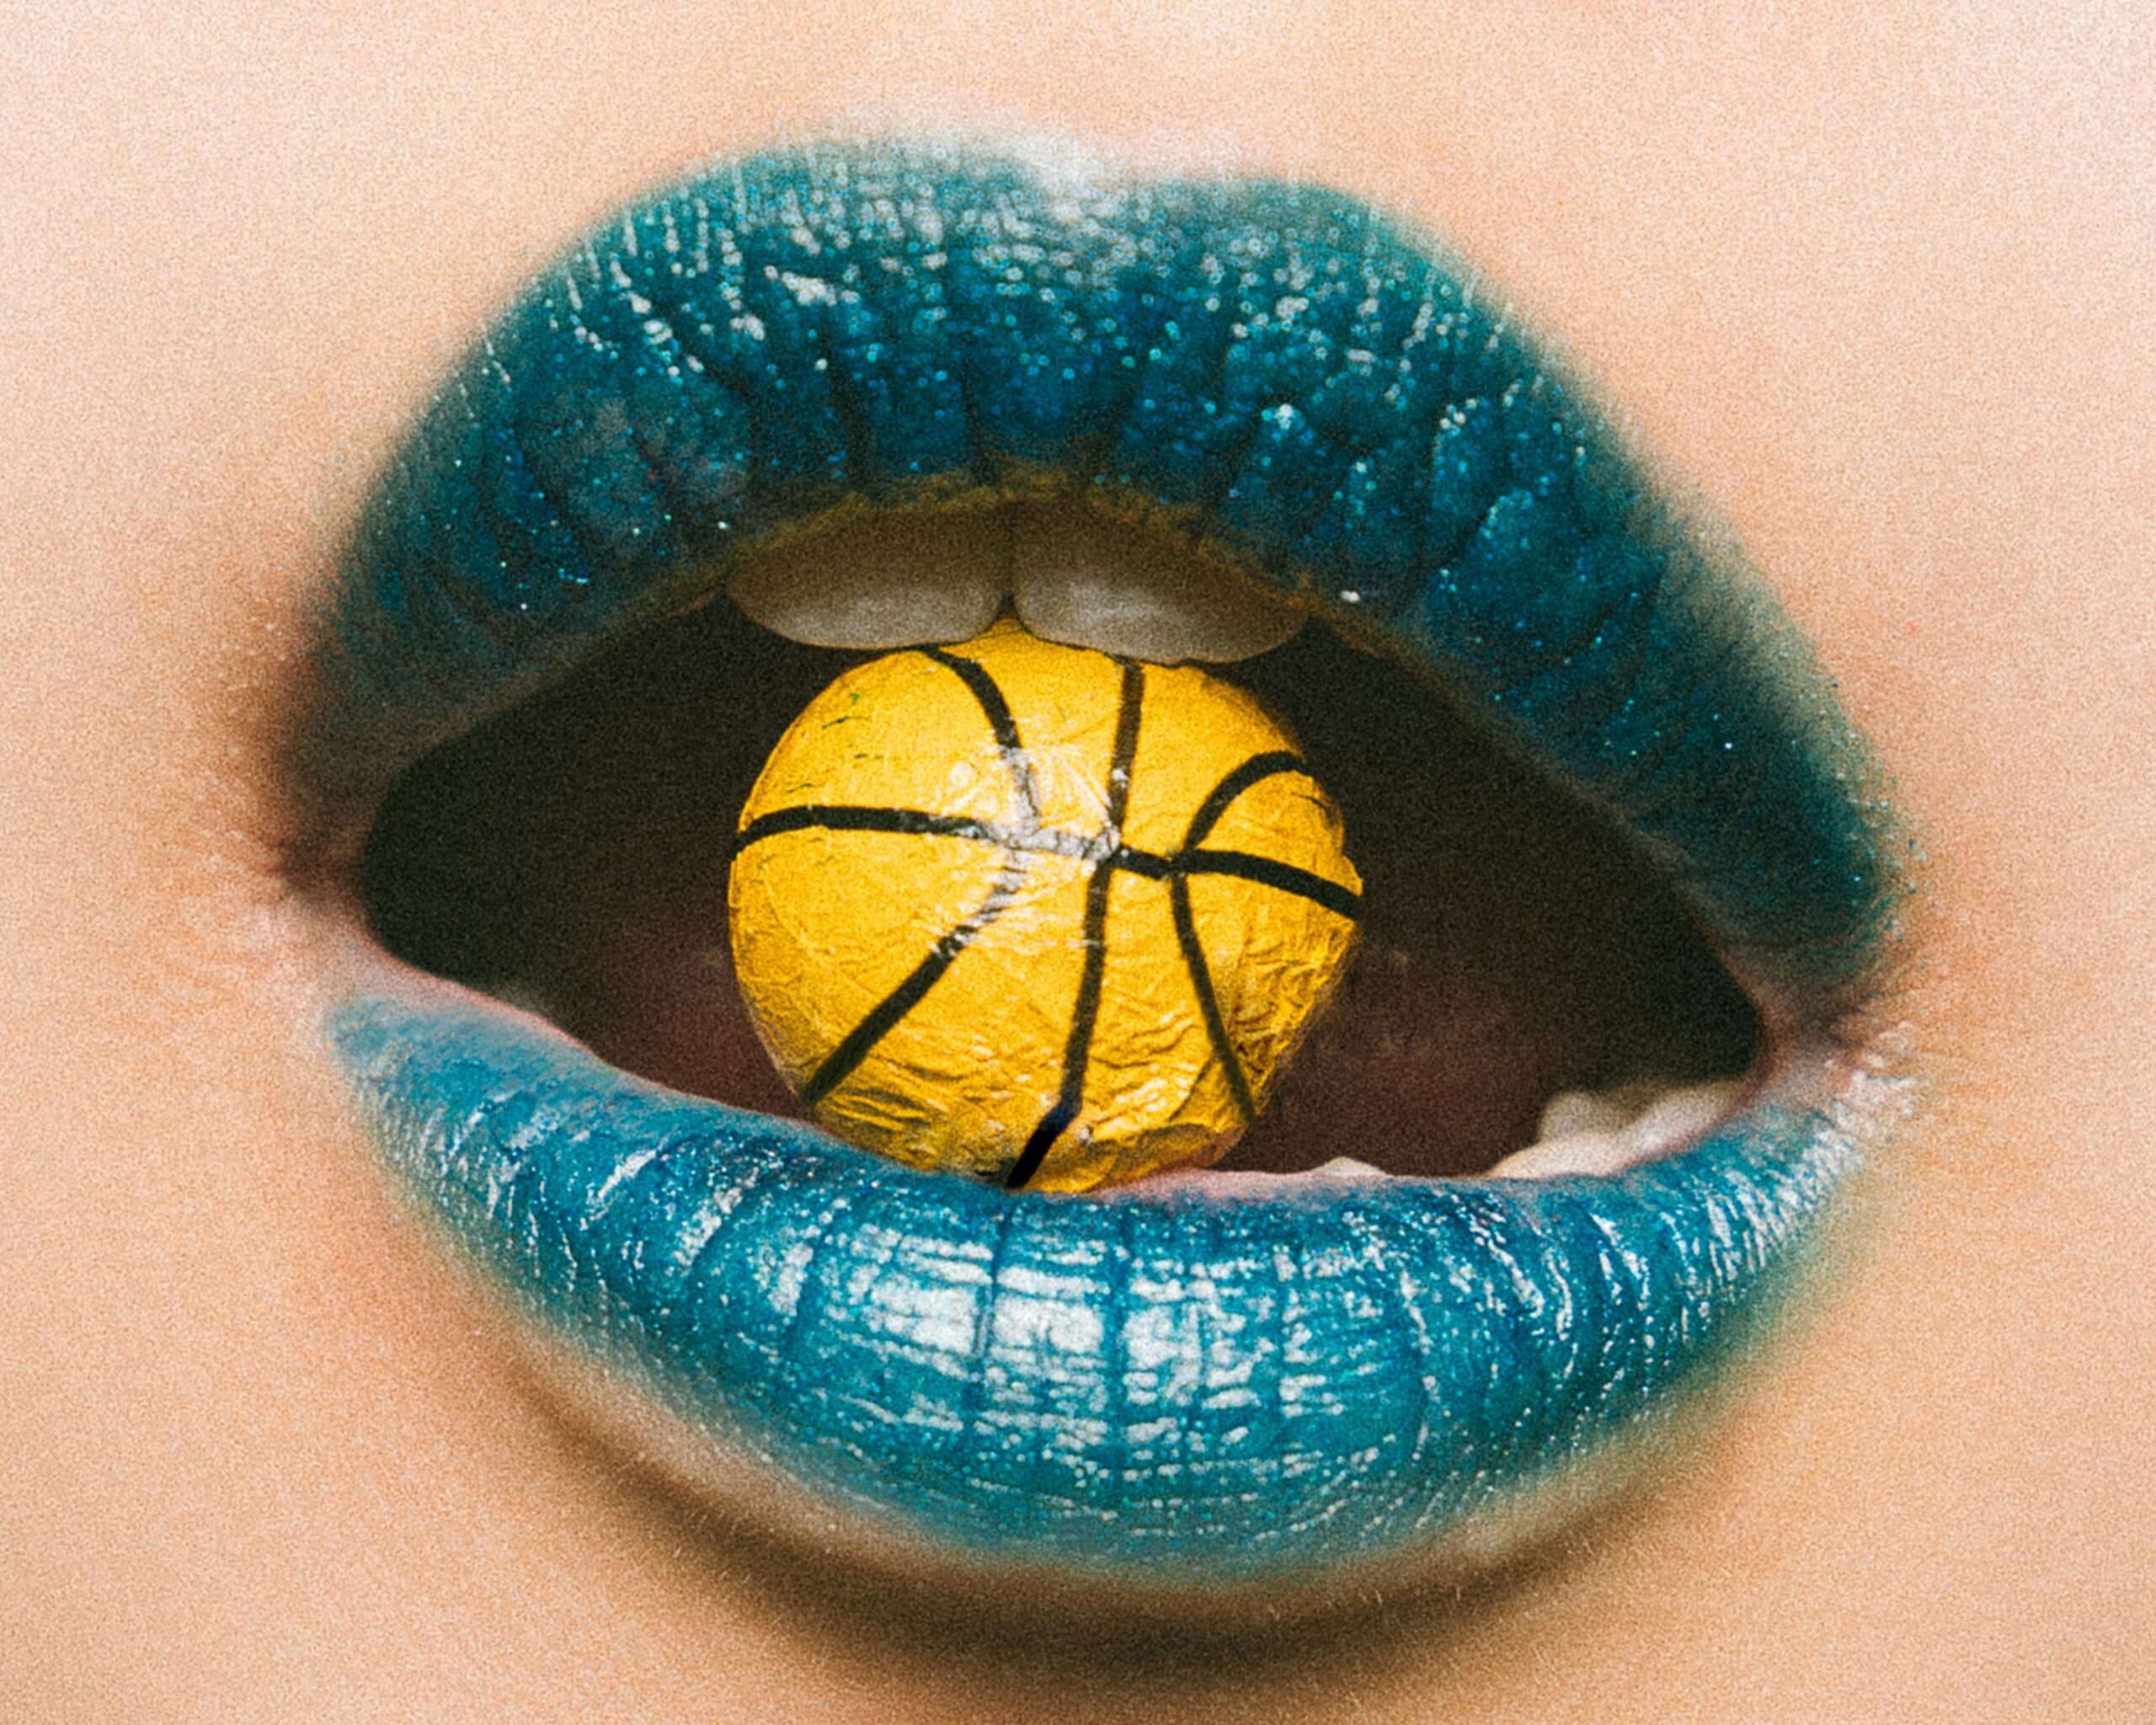
- Cheetah Print Magic: Using gold foiling alongside black detailing, this artist created wild yet sophisticated vibes.
- Nature-Inspired Florals: Tiny painted flowers transformed plain pink lips into a garden masterpiece.
- Abstract Rainbow Waves: Bold blocks of color made waves on social media feeds worldwide.
Frequently Asked Questions About Creative Lip Art
Q: Do I Need Special Brushes for Creative Lip Art?
Answer: Not necessarily! However, small angled brushes or detailers can help refine edges.
Q: How Long Does Creative Lip Art Typically Last?
Answer: With proper prep and sealing, expect longevity of 6–8 hours, depending on eating habits.
Q: Can Beginners Try Advanced Techniques?
Answer: Absolutely! Start small and build confidence. Practice truly makes perfect.
Conclusion
If you’ve ever wondered how to take your makeup routine from basic to bold, creative lip art offers endless possibilities. By following our step-by-step guide, investing in quality products, and embracing both failures and triumphs along the way, you’ll unlock a new level of editorial flair.
Are you ready to rock this runway-ready trend? Tag us in your creations—we can’t wait to see what you dream up!
Like applying glitter eyeshadow without a primer—your creativity deserves focus.
P.S.: “Bold lips, louder dreams,” whispers your inner makeup guru.