Ever stared at a blank canvas of skin, wondering how to transform it into a vibrant masterpiece? Yeah, us too.
Welcome to the electrifying world of vibrant face art, where editorial makeup meets pure creativity. This blog post will guide you through everything from choosing the right tools and techniques to creating bold designs that pop. You’ll learn about color theory for editorial looks, common mistakes (we’ve made them all), pro tips for flawless application, jaw-dropping examples, and even some brutal honesty about what *not* to do. Ready? Let’s dive in.
Table of Contents
- Why Vibrant Face Art Matters
- Step-by-Step Guide to Mastering Vibrant Face Art
- Pro Tips & Best Practices
- Real-Life Examples of Stunning Vibrant Face Art
- FAQs About Vibrant Face Art
Key Takeaways
- Vibrant face art is more than just makeup—it’s an expression of creativity.
- Choosing high-quality pigments and brushes can make or break your design.
- Avoid overworking the skin; prep is key to a smooth finish.
- Learn from real-world examples to inspire your own work.
Why Vibrant Face Art Matters
Let me tell you a story. The first time I attempted a bold blue-and-gold eye look for a photoshoot, my client later came back with feedback: “It looked like someone sneezed glitter onto my eyelids.” Brutal but fair. Editorial makeup requires precision, and when done right, vibrant face art can elevate any project—from magazine spreads to avant-garde runway shows.
But why does this matter so much? Well, think about Instagram Reels or TikTok trends—they’re dominated by striking visuals that stop scrollers dead in their tracks. A stunning piece of vibrant face art doesn’t just grab attention; it tells a story without words. It’s chef’s kiss for standing out in today’s oversaturated content world.
Step-by-Step Guide to Mastering Vibrant Face Art
Step 1: Prep Like a Pro
“Optimist You:” ‘Smooth skin equals smoother application!’
“Grumpy You:” ‘Ugh, foundation primer feels sticky—but fine only if coffee’s involved.’*
- Cleanse and moisturize the skin thoroughly.
- Apply a hydrating primer to create a durable base.
- Use color correctors if needed to neutralize undertones.
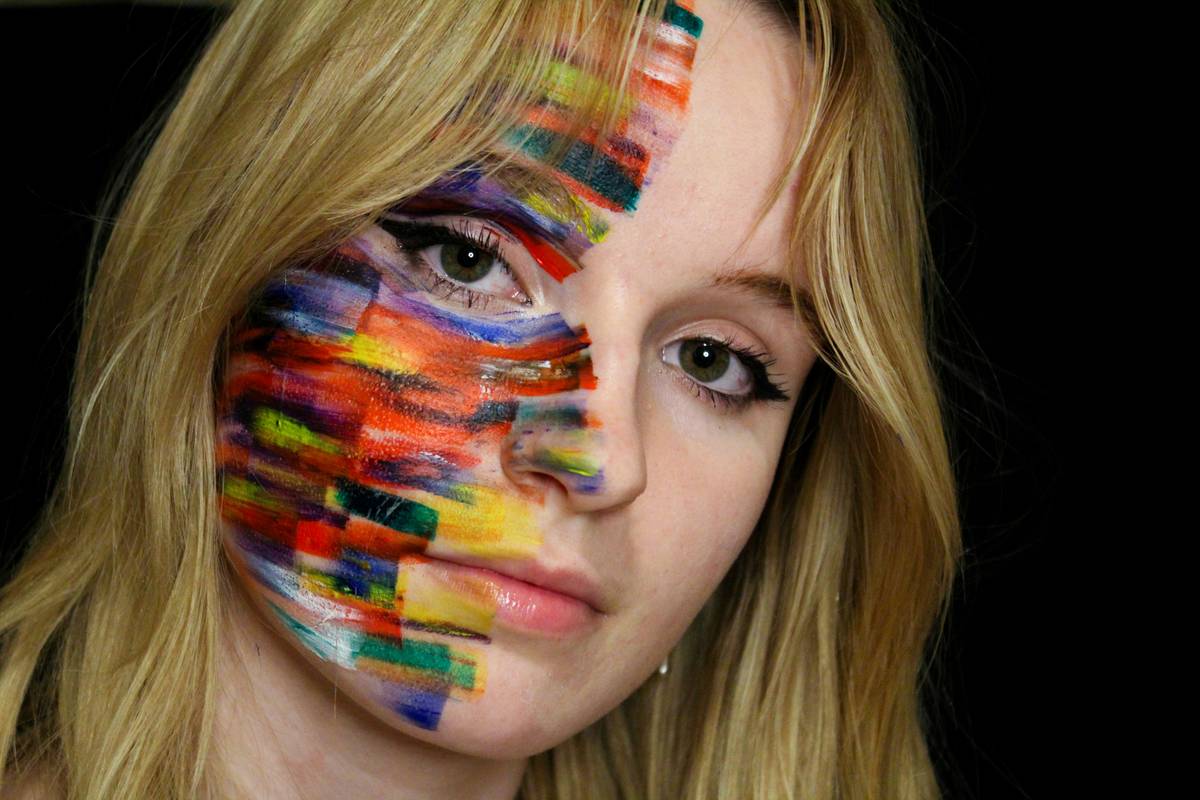
Step 2: Choose Your Colors Wisely
Remember that neon green lipstick disaster I tried once? Yeah, let’s avoid that vibe. Stick to complementary colors that enhance each other while maintaining balance. For instance, pair warm oranges with cool blues to let both shades shine.
Step 3: Build Layers Gradually
Patience is everything here. Start with light layers using cream-based products, then set with powders before adding bolder strokes. Think of it as layering lasagna—you wouldn’t slap sauce directly on cheese without noodles underneath!
Pro Tips & Best Practices
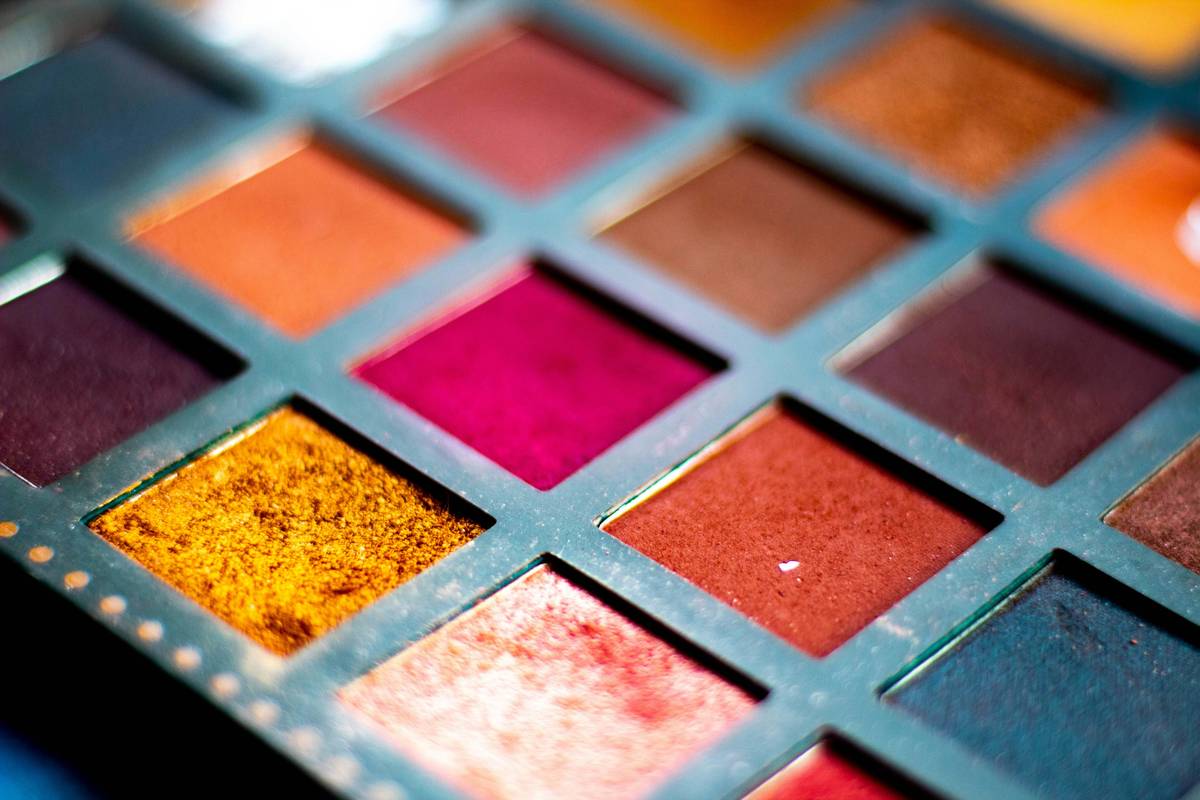
Tip #1: Invest in Pigmented Products
Highly pigmented eyeshadows, liners, and lipsticks are non-negotiable for vibrant face art. Drugstore options might seem tempting, but they often lack the intensity required for editorial work.
Tip #2: Keep Blending Tools Handy
Blend, blend, blend! Use soft brushes or sponges to blur harsh lines unless sharp edges are part of your vision. Sounds simple, right? Yet skipping this step leaves you with amateurish results that scream “I winged it.”
Terrible Tip Disclaimer:
Do *NOT* use cheap craft paints because “they’re colorful”—hello, allergic reactions! Editorial makeup exists within FDA-approved bounds for good reason.
Real-Life Examples of Stunning Vibrant Face Art
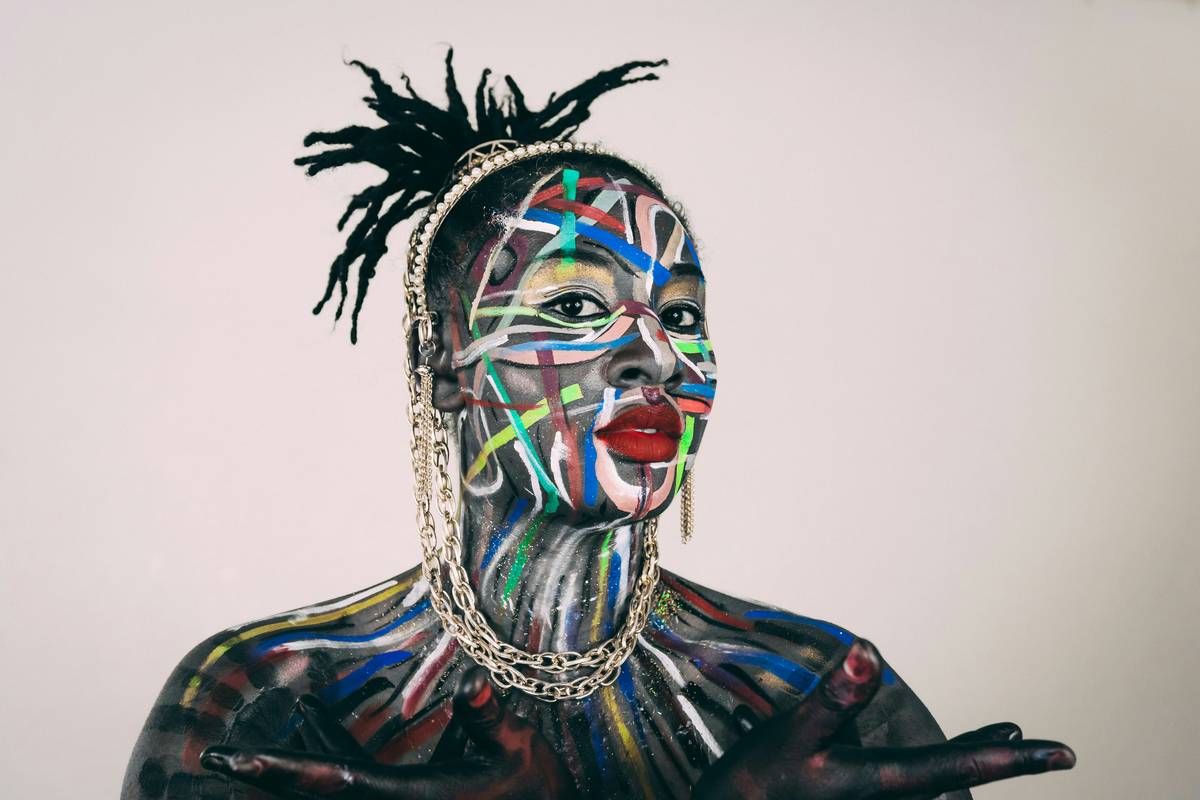
Take Pat McGrath Labs, for example. Their editorial creations consistently push boundaries, combining unexpected textures and colors into jaw-dropping looks. One standout was Rihanna’s Met Gala appearance—a literal jewel-encrusted masterpiece blending metallic golds with deep purples. Pure artistry magic!
Another example comes from backstage at fashion weeks worldwide. Designers like Jean Paul Gaultier regularly collaborate with artists who turn models’ faces into living canvases. These bold designs don’t always translate to everyday wear, but boy, do they get people talking.
FAQs About Vibrant Face Art
Q1: How Long Does It Take to Create Vibrant Face Art?
Depending on complexity, expect anywhere from 45 minutes to several hours. Intricate patterns require patience and skill, folks!
Q2: Can Beginners Try Vibrant Face Art?
Absolutely! Just start small—think bold lips or one statement eye. Practice makes perfect!
Q3: What Tools Are Essential for Vibrant Face Art?
Besides quality makeup, invest in angled brushes, fine-tipped liners, and setting sprays to lock everything in place.
Conclusion
Vibrant face art isn’t just another trend—it’s a powerful form of self-expression and storytelling. Whether you’re crafting edgy editorial pieces or experimenting with fun looks at home, remember these golden rules: prep meticulously, choose wisely, and embrace experimentation.
And hey, even if things go sideways sometimes (*cough* glitter sneeze incident *cough*), every failure teaches something valuable. Now go forth and unleash your inner Picasso!
Like a Tamagotchi, your SEO needs daily care—and now yours has been fed vibrantly.